The trick to using a moka pot in an Italian apartment is to keep the heat much lower than you probably expect and take the pot off the stove as soon as the brew finishes. Fill the lower chamber only to the safety valve, fill the coffee basket loosely without tamping, screw the pot together firmly, and use low to medium heat. If you leave it sputtering on a hot burner after the coffee has risen, that is when the harsh, scorched taste usually arrives.
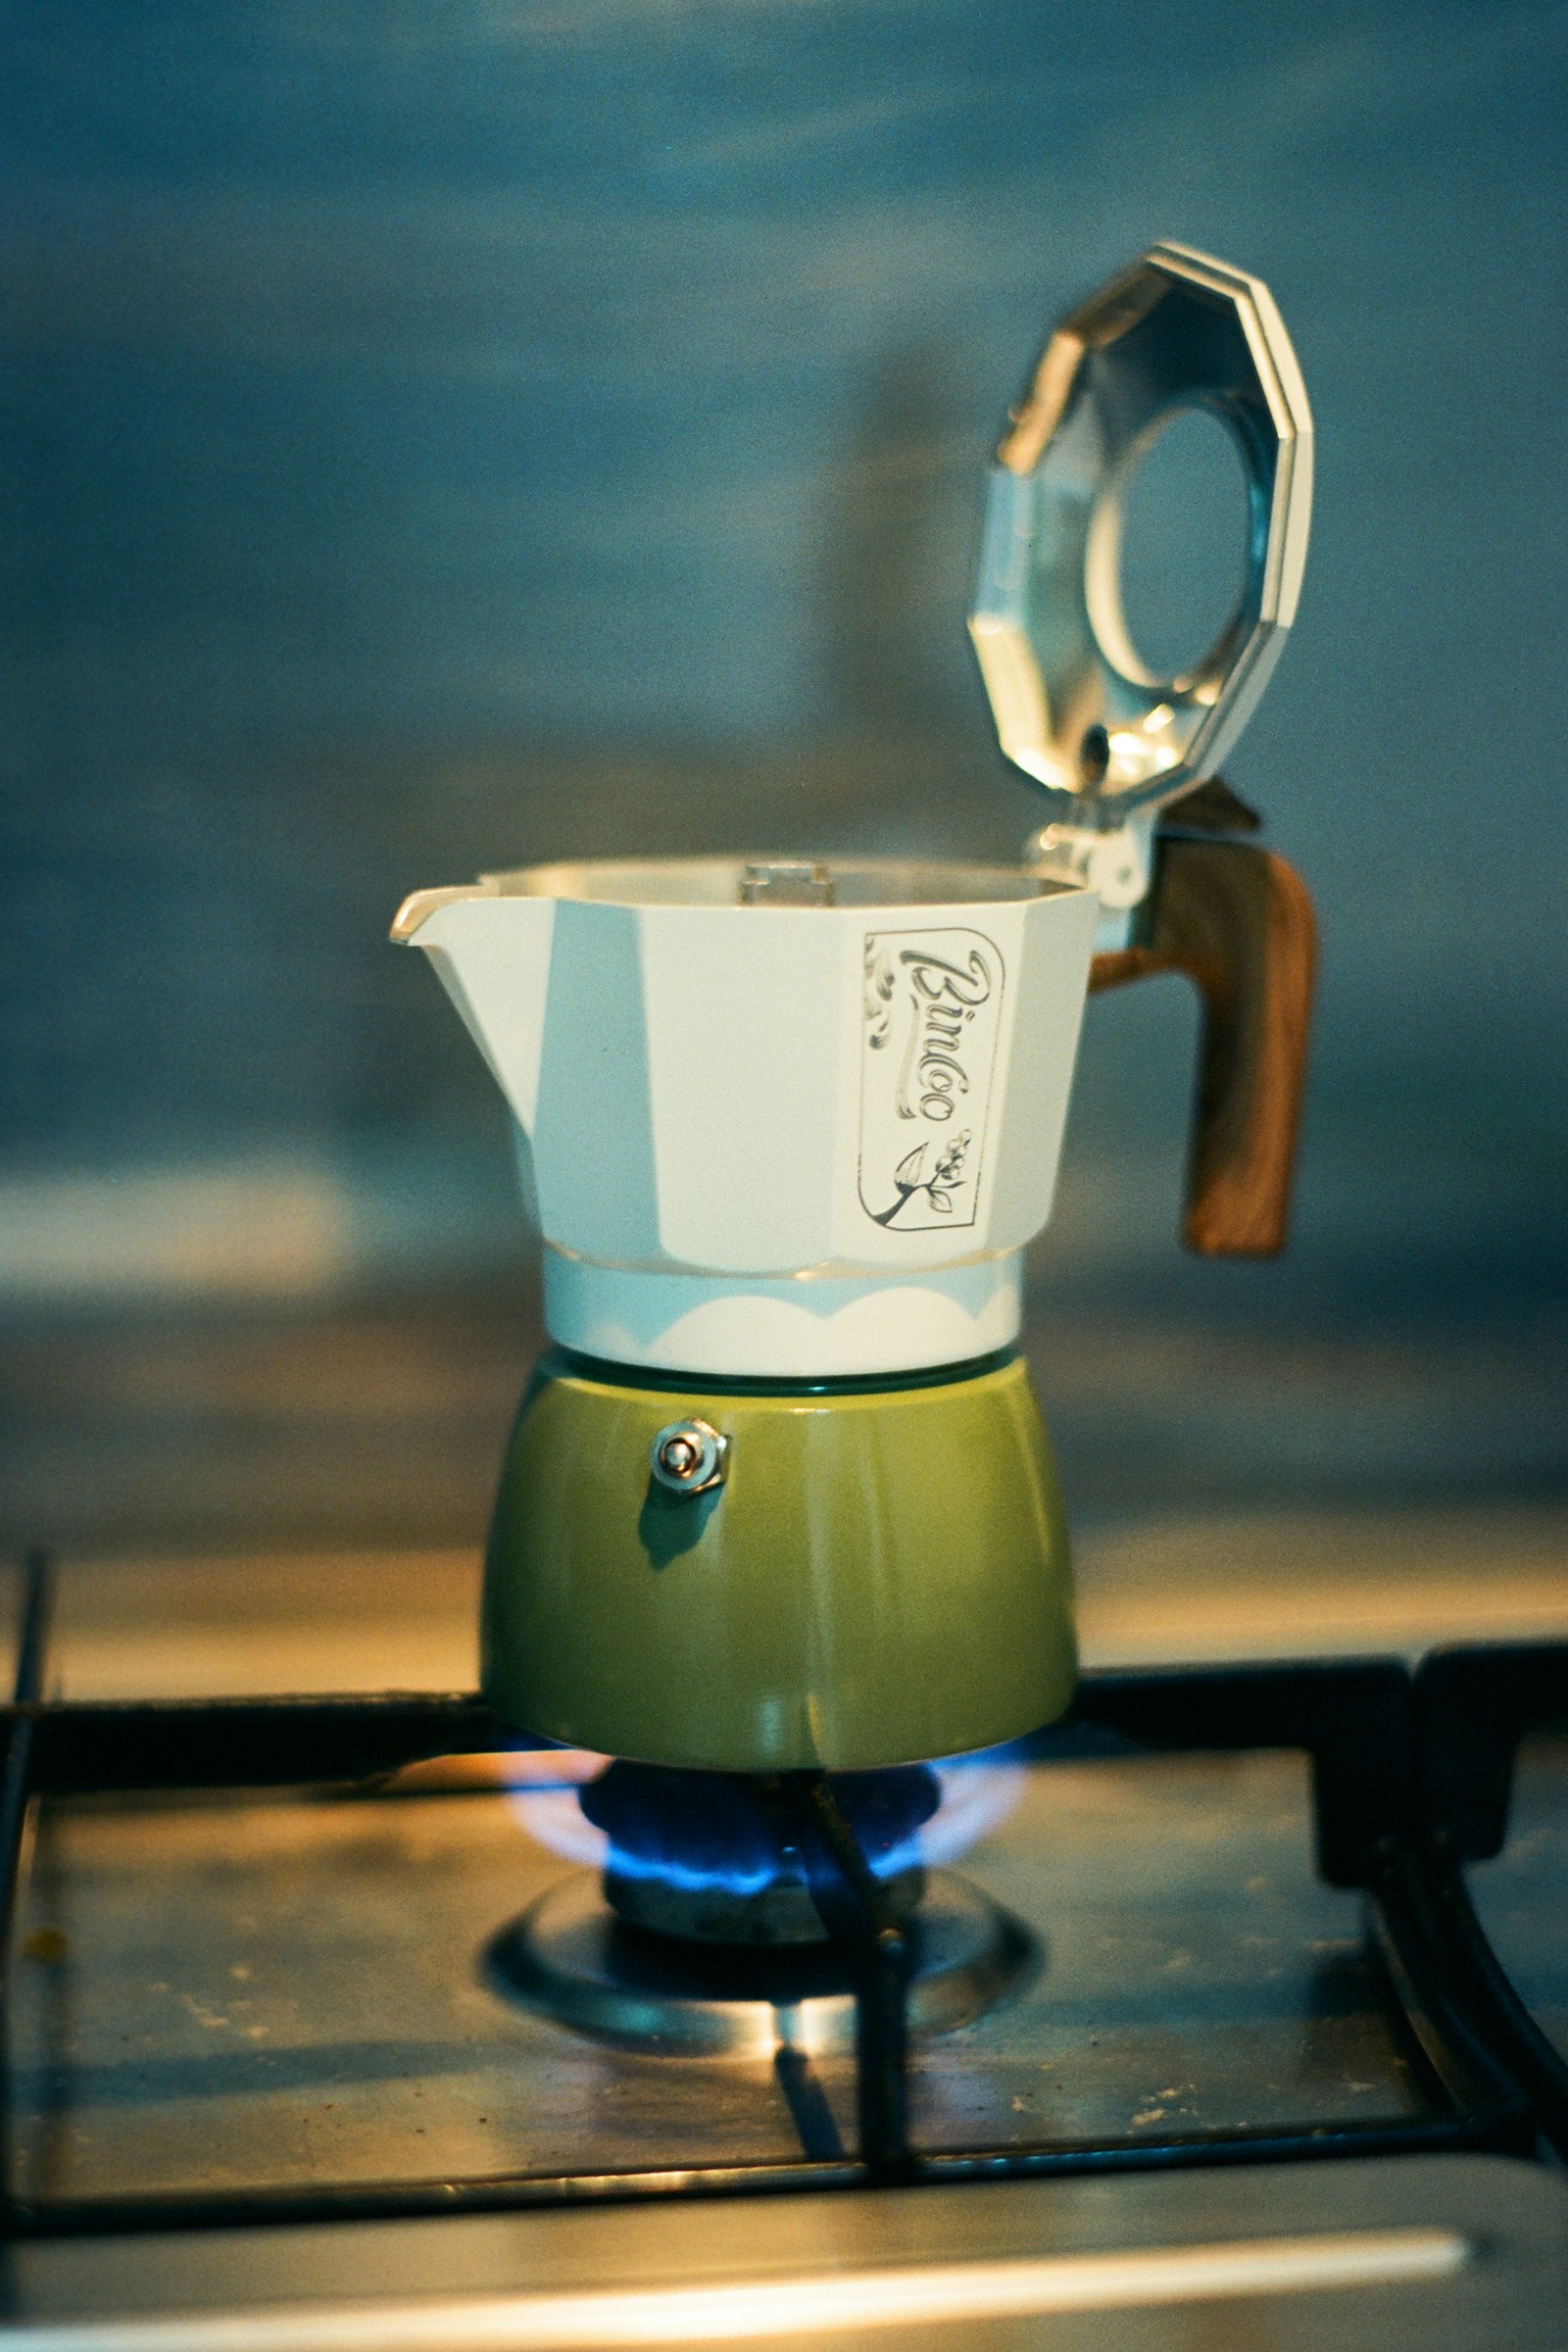
First, check what kind of stove you have
Before filling the moka, look at the cooktop. Italian apartments can have gas burners, ordinary electric plates, ceramic glass hobs, or induction. The same pot will not necessarily work on all four.
A traditional aluminum moka, including the classic Bialetti Moka Express, works on gas, electric and ceramic heat sources but is not designed for a standard induction hob. Bialetti makes separate induction-compatible models with a suitable base. If the apartment has induction and the pot simply sits there while the display flashes or refuses to heat, increasing the power will not solve the compatibility problem.
Look on the bottom of the coffee maker for words or symbols indicating induzione or induction compatibility. Some rentals provide a metal induction adapter plate. Use one only if it belongs with the cooktop or pot and follow the host’s instructions. Do not improvise with another pan, baking tray or piece of metal.
If the cooktop itself is refusing to respond, check that it is actually unlocked before blaming the moka. Induction controls may show a key, padlock, L, or Lo when the child lock is active.
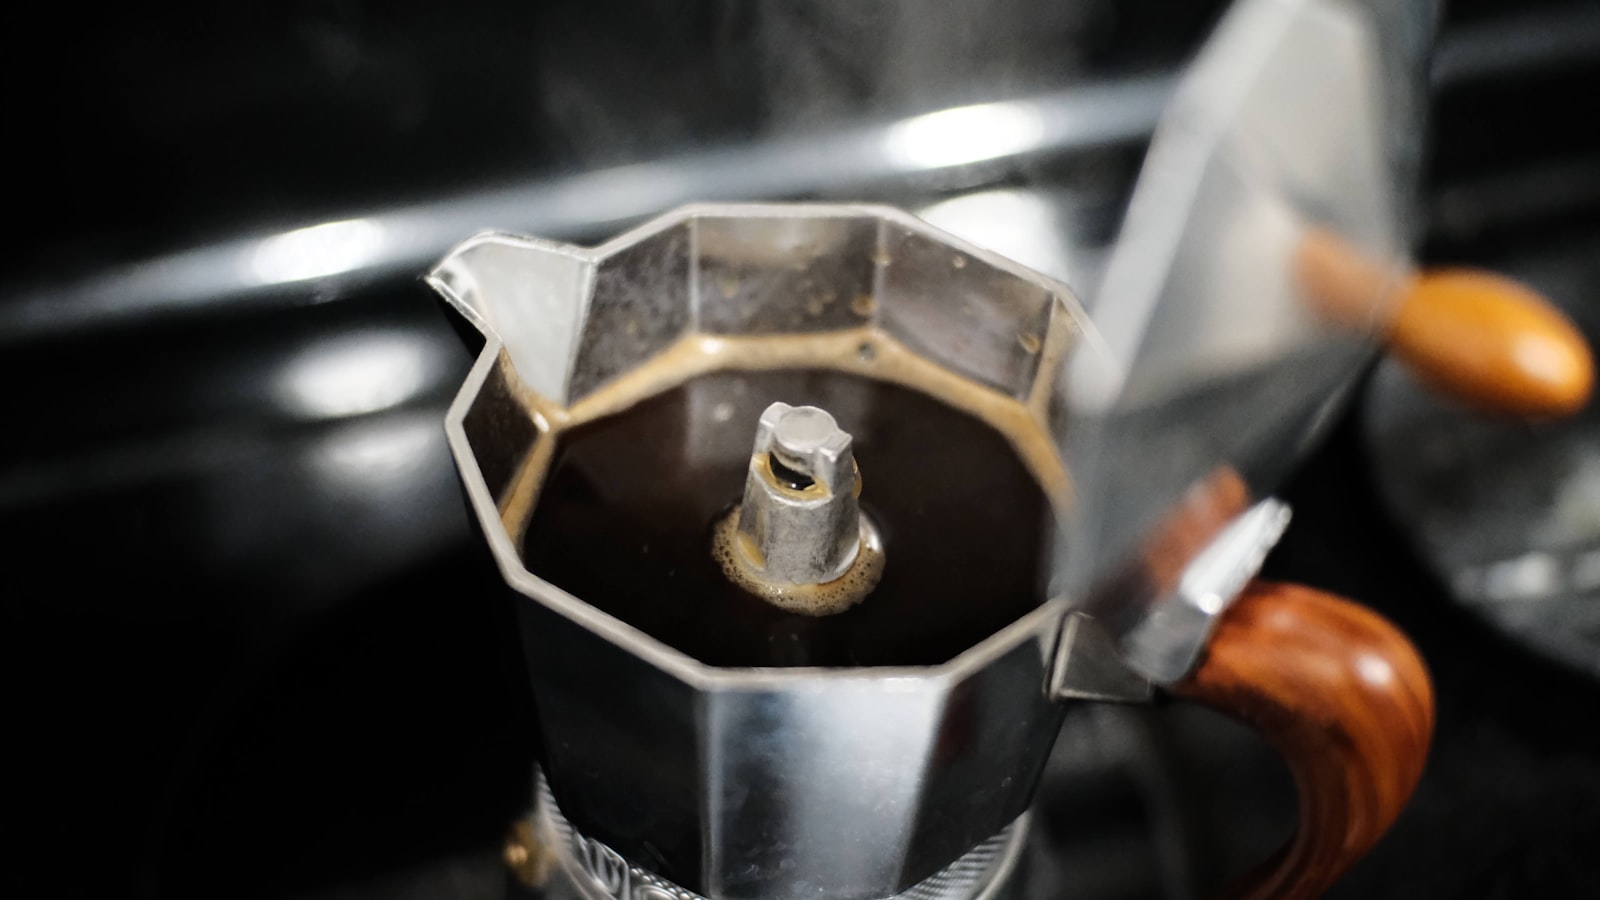
Know the three parts before you start
A basic moka has a lower water chamber, a funnel-shaped coffee filter, and an upper chamber where the brewed coffee collects. On the side of the bottom chamber is a small metal safety valve. That valve is also your easiest reference point for the water level.
Before brewing with an unfamiliar apartment coffee maker, take a few seconds to check that:
- the funnel filter is present and sits flat in the bottom chamber;
- the rubber gasket underneath the upper section is not obviously split, loose or crumbling;
- the metal filter plate above the gasket is in place;
- the safety valve does not appear blocked by coffee or heavy scale;
- the two halves screw together cleanly.
A tired gasket is common in heavily used rental kitchens. If coffee or steam pours from the joint between the two halves during brewing, stop using the pot rather than tightening a hot, pressurized moka with your hands.
How to make the coffee step by step
1. Fill the bottom chamber with water
Unscrew the moka and remove the funnel. Pour cold water into the lower chamber until it reaches just below the lower edge of the safety valve. Do not submerge or cover the valve.
Adding substantially more water does not produce a better long coffee. It interferes with the space the moka needs to build pressure and can contribute to unpleasant, over-extracted coffee.
2. Insert the funnel and add coffee
Drop the funnel filter into the lower chamber. Fill it with ground coffee intended for a moka, often labelled caffè macinato per moka in Italian supermarkets.
Fill the basket loosely to the top and level the surface gently. Do not tamp it. This is not an espresso machine. Compressing the grounds makes it harder for water to pass through the coffee and can create excessive pressure.
Brush loose grounds away from the rim of the lower chamber. Coffee trapped on the sealing surface can prevent the moka from closing properly and may cause leakage around the middle.
3. Screw the two halves together
Hold the metal body rather than using the handle as a lever. Screw the upper chamber firmly onto the base, but there is no need to attack it like a stubborn jar lid.
Keep the lid closed during brewing, particularly with an unfamiliar pot. The metal body will become very hot, so once it goes onto the stove, treat the handle and lid knob as the only normal touching points.
4. Use less heat than feels necessary
On gas, choose a small burner when possible and keep the flame underneath the base. Flames should not curl up the sides of the moka or reach the handle.
On an electric or ceramic hob, use a moderate setting rather than maximum power. These surfaces can retain heat after you turn them down, so physically moving the moka away from the hot zone at the end of brewing matters.
Bialetti’s current Moka Express instructions likewise specify low-to-medium heat and advise removing the pot once the upper chamber is full rather than allowing the coffee to boil.
5. Listen for the finish
For much of the brewing process, very little happens. Then coffee begins moving into the upper chamber. Near the end, the steady flow changes to a more obvious bubbling or sputtering sound.
That sound is your signal to finish, not an invitation to give the pot another two minutes “just to be sure.” Remove it from the active burner once the upper chamber has filled and the brew is reaching its final sputter.
Leaving a moka roaring and gurgling on high heat pushes more hot steam through the remaining grounds and is a reliable way to turn an otherwise decent cup bitter.
The easiest heat settings to use
There is no universal number such as “set every Italian stove to 4.” Hob scales vary too much. A setting of 4 might be gentle on one cooktop and aggressive on another.
- Gas: use a small, controlled flame that stays underneath the base.
- Ceramic or electric: start around the middle of the available range rather than at maximum.
- Induction: first confirm that the moka is induction-compatible, then use a moderate power level.
If the first brew takes a little longer than expected, resist the urge to jump straight to full power. The goal is steady heating, not getting the aluminum as hot as possible.
If the apartment moka is much bigger than you need
The number stamped on a moka refers to small moka servings, not full breakfast mugs. A six-cup pot is therefore much larger than many solo travelers expect.
Do not try to turn a large moka into a one-person model by half-filling the filter with coffee and guessing at a tiny amount of water. These brewers are designed around their stated capacity. If the supplied pot is enormous and you only want one small coffee, making the intended batch and sharing it is generally more predictable than inventing new proportions.
If you are moving between several apartments and keep running into little kitchen mysteries like this one, the Italy on Foot trip planner can help organize the practical parts of the rest of your route while you keep accommodation notes, timings and stops straight.
Why your moka coffee tastes burnt
If the result is harsh, smoky or aggressively bitter, check the simple causes before changing coffee brands.
- The heat was too high. This is the most common problem. Use a smaller flame or lower hob setting next time.
- You left the pot on after brewing finished. Move it completely off the hot burner as soon as it is done.
- You tamped the coffee. Fill the basket loosely instead.
- The grind is extremely fine. Coffee ground for an espresso machine can be too fine for some moka pots. Look for coffee marked for moka.
- The burner was larger than the pot. On gas especially, heat climbing around the sides can overheat the moka and its handle.
- The pot is dirty or badly maintained. Old coffee residue, a damaged gasket or a partially obstructed filter can spoil the result.
If nothing comes out
Turn off the heat rather than continuing to cook an apparently blocked moka indefinitely. Do not immediately unscrew it. The lower chamber may still be hot and pressurized.
Once the coffee maker has cooled completely, check whether the funnel was overfilled or tightly packed, whether fine grounds are blocking the filter, and whether the gasket and filter plate are seated correctly. Also inspect the safety valve for obvious obstruction.
If steam is escaping forcefully from the safety valve, or the problem repeats after a normal refill, stop using that apartment’s moka and tell the host. The valve is a safety component, not a brewing indicator that should routinely hiss throughout breakfast.
If coffee leaks from the middle
A small amount of coffee or steam escaping around the screw joint usually points to a sealing problem. Common causes are grounds caught on the rim, a pot that was not screwed together firmly enough, or an old gasket.
Turn off the stove and wait for everything to cool before investigating. Never try to tighten or open a hot moka while it is operating.
If the gasket looks hard, cracked, misshapen or loose, ask the host for another coffee maker rather than trying to repair unfamiliar equipment with whatever happens to be in the kitchen drawer.
How to clean the moka after breakfast
Wait until the pot has cooled before unscrewing it. Remove the funnel and empty the spent grounds into the rubbish or organic-waste container according to the apartment’s local waste instructions rather than washing a basketful of coffee down the sink.
Cleaning instructions depend on the manufacturer and material. For the traditional aluminum Bialetti Moka Express, the manufacturer calls for hand washing with warm water and advises against the dishwasher and abrasive cleaning. If the apartment has a different brand or a stainless-steel model, follow its instructions rather than assuming every moka has identical care requirements.
Let the parts dry before reassembling them. A rental moka that is put away wet and tightly closed can greet the next guest with stale smells, trapped moisture and a morning they did not ask for.
The simple routine that prevents most bad moka coffee
- Water just below the safety valve.
- Funnel inserted correctly.
- Moka-ground coffee filled loosely, never tamped.
- Clean the grounds from the rim.
- Screw the pot together firmly.
- Use low to medium heat.
- Keep a gas flame underneath the base.
- Remove the moka from the burner as soon as brewing finishes.
- Never open it while hot or pressurized.
The moka does not need complicated technique. Most disappointing apartment coffee comes from treating it like a saucepan that should boil vigorously. Give it moderate heat, let the pressure do the work, and take it off the stove before the final sputter turns breakfast into charcoal.