A micromosaic jewellery workshop in Rome lets you create a small piece of wearable art using tiny coloured glass fragments. For a visitor, a hands-on session lasting around two and a half hours is a practical choice. Before reserving a place, check that you will actually make the jewellery yourself, that the materials and metal setting are included, and that you can take your finished piece home the same day.
Searching for “micromosaic class Rome” can bring up several different activities, from traditional mosaic-making lessons to demonstrations and specialist jewellery courses. The distinction matters because a workshop that teaches you to assemble a stone or ceramic mosaic will give you a very different result from one using the fine glass technique associated with Roman micromosaic jewellery.
What Happens in a Roman Micromosaic Jewellery Workshop?
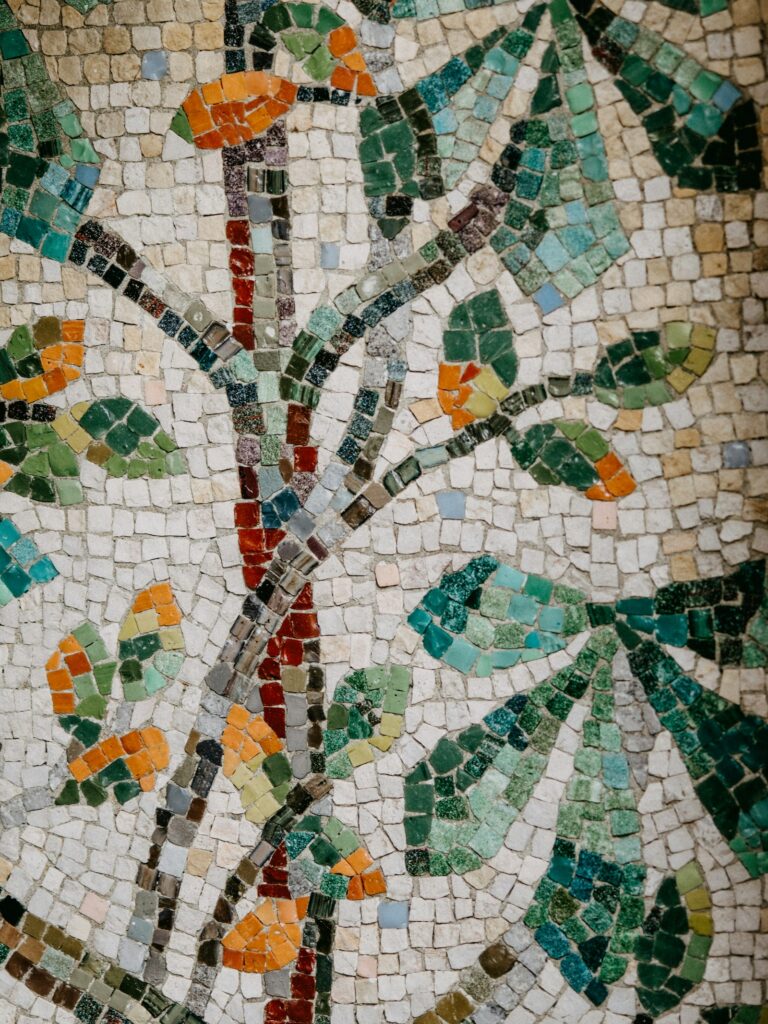
Roman micromosaic developed into a particularly refined art form during the eighteenth and nineteenth centuries. Craftspeople used extremely small pieces of coloured glass to create detailed pictures and decorative objects, including brooches, pendants and other jewellery popular with travellers on the Grand Tour.
The technique is still practised in Rome. You may see the Italian terms micromosaico romano and smalti filati, referring to Roman micromosaic and the fine glass threads used to produce its miniature elements.
In a visitor workshop, the process will generally involve:
- Learning about the technique. The instructor explains how micromosaics are made and shows examples of the tiny glass elements used in the designs.
- Choosing a jewellery setting. Depending on the workshop, this might be a pendant, ring or another small decorative item.
- Planning your design. You select colours and arrange a composition suitable for the size of your setting.
- Preparing and placing the glass. With the instructor’s guidance, you work with small glass pieces and place them into the prepared base.
- Finishing the jewellery. The instructor helps complete the piece and explains how to handle and care for it.
Some studios demonstrate how glass rods are produced using heat, while others concentrate on cutting and arranging prepared materials. Do not assume a short jewellery class includes working with molten glass. That is a separate technical skill, and more intensive training may be needed to practise it.
Most introductory classes are designed for beginners, so previous experience with jewellery-making or mosaics is generally unnecessary. Patience and the ability to concentrate on small details are more useful than artistic training.
Choosing the Right Type of Workshop
Before comparing prices, decide what you want to get out of the session. Several experiences can appear under similar descriptions.
Small-group jewellery-making workshop
This is the format to look for when you want to create a pendant or another wearable piece during a single visit. A scheduled session may last approximately two to three hours, including instruction and practical work.
Ask for the maximum number of participants rather than relying on the description “small group”. There is no standard group size attached to that phrase. A group of four with one instructor offers a different amount of individual attention from a group of eight working with the same instructor.
It is particularly useful to confirm the group size if you are nervous about fine craftwork or expect to need help throughout the process.
Private jewellery workshop
A private session can make sense for families, couples who want to work together, or travellers with particular accessibility needs. It may also allow more flexibility over the starting time and pace.
However, private does not automatically mean a longer class, different materials or a completely personalised design. Ask exactly what changes compared with the shared session and whether the price is per person or for the whole group.
Studio demonstration or intensive course
A studio visit can be a good alternative if you are interested in traditional craftsmanship but do not want to spend several hours making jewellery. Some demonstrations last around an hour and concentrate on showing the tools and techniques rather than having visitors create their own pieces.
Multi-day courses are aimed at people who want to develop the skill more seriously. They may include preparing materials, working with heated glass and producing more complex designs.
For a short stay in Rome, check that you have selected a single-session jewellery workshop rather than a demonstration or a course spread over several days.
What Should Be Included in the Workshop Price?
A well-described booking should make it clear what you are paying for. For jewellery-making, the cost of the setting matters just as much as the glass and instruction.
Check for the following:
- Instruction: the advertised session length, teaching language and whether an instructor supervises the practical work.
- Tools and glass: whether all materials needed to complete the design are supplied.
- Jewellery base: whether the pendant, ring or other setting is included and which metal is used.
- Chain or fittings: whether a pendant comes with a necklace chain or only the decorative setting.
- Finished piece: whether you can keep the jewellery you create without any extra payment.
- Packaging: whether a protective box or pouch is provided.
- Finishing and collection: whether the piece is ready to take away immediately or must remain at the studio.
Metal descriptions deserve particular attention. Sterling silver, silver-plated metal and other alloys have different values and may be suitable for different skin sensitivities. If you have a nickel allergy or another metal sensitivity, tell the studio before booking.
For rings, ask about available sizes and whether the setting is adjustable. For pendants, confirm whether the chain is included and what it is made from.
A workshop can be enjoyable even with an inexpensive setting, provided the materials are described accurately and the final price is clear.
How Much Does a Micromosaic Jewellery Class Cost in Rome?
Prices depend on the duration, teaching format, materials and type of jewellery produced. Private instruction and specialist materials can change the cost considerably.
As a specific example, in November 2026, Studio Cassio’s published jewellery workshop listing advertised a two-and-a-half-hour session at €120 per person. That is one studio’s advertised price, not an average or a guaranteed rate for future dates.
Third-party booking platforms may list a different total for a comparable session. The difference can reflect booking arrangements, platform pricing or other terms, so compare the final amount payable rather than just the advertised starting price.
Before paying, establish whether the booking requires full advance payment, a deposit or payment at the studio. If a deposit is requested, confirm whether it is refundable and whether it is deducted from the total price.
For 2027 travel, check the actual dates and prices offered for the short jewellery workshop. Some studios have already published 2027 schedules for longer courses, but those dates should not be treated as availability for shorter visitor sessions.
Children, Beginners and Accessibility
Micromosaic jewellery-making involves small pieces of glass, precise movements and sustained attention. It is generally more suitable for older children and teenagers than for young children who need frequent breaks or hands-on assistance.
Age requirements vary between providers. For example, one established Roman studio specifies a minimum age of 12 and requires participants under 15 to be accompanied rather than attending alone.
Do not assume that an adult’s presence makes younger children eligible. Ask the studio about its exact minimum age, supervision rules and whether accompanying non-participants can remain in the workspace.
For families, the most useful questions are whether every child needs a paid place, whether adults and children can work together, and how much direct assistance the instructor can offer.
Accessibility and physical comfort
Most of the practical work takes place at a table, but seated work is not automatically comfortable or accessible for everyone.
If you have reduced mobility, limited hand dexterity, arthritis, visual difficulties or another requirement, ask about:
- Step-free access from the street and the availability of an accessible toilet.
- Table height, seating and space for a wheelchair or mobility aid.
- Lighting and whether magnifying equipment is available.
- Whether you can take short breaks or work at a slower pace.
- Whether the instructor can help with cutting and handling particularly small pieces.
Historic workshop buildings may have steps or narrow entrances, even when the class itself takes place entirely on one floor. Request a specific description of the entrance and facilities rather than relying on a general accessibility label.
If you normally use reading glasses for detailed work, bring them. The glass pieces used in micromosaic can be much smaller than the tiles found in an ordinary mosaic workshop.
Booking a Small-Group Session Without Surprises
For a scheduled workshop, the process may be as simple as selecting a date, choosing the number of participants and paying online. Other studios arrange small groups by direct enquiry, particularly when there are language requirements or a request for a private session.
Before making a payment, check five practical points.
- Exact activity: Does the session involve making your own jewellery, or mainly observing the craft?
- Confirmed date and time: Is the session guaranteed to run, or does it depend on reaching a minimum number of participants?
- Teaching language: Will the instructor teach in English, Italian or both?
- Group size: What is the maximum number of participants, and how many instructors will be present?
- Finished jewellery: What can you make, what is included, and can you take it away on the day?
If the class is listed on a booking platform, check who is actually operating it. The platform may handle payment and refunds, while the studio handles arrival instructions and teaching.
Keep the confirmation email or booking voucher. It should show the correct date, start time, number of participants, meeting address, payment status and cancellation conditions.
Getting to the Workshop and Finding the Entrance
Several micromosaic studios and artisan workshops operate in central Rome, including the Monti neighbourhood between Termini and the Colosseum. The exact location depends on the provider.
For studios around Via Urbana and Via dell’Angeletto, Cavour station on Metro Line B can be a convenient arrival point. Other addresses may be better reached on foot, by bus or by taxi.
Rome’s transport operator, ATAC, provides information about public transport tickets and payment methods, including contactless payment on the metro and supported buses.
Check the studio’s full street address and entrance number rather than relying on a general neighbourhood description. A workshop may be inside a courtyard, behind a street-level shop or through a less obvious entrance.
Plan to arrive around 10 to 15 minutes before the scheduled start. That gives you time to find the entrance, use the toilet if available and settle in without interrupting the instruction.
What about luggage?
Do not assume a small studio has room to store suitcases. Worktables, glass materials and tools need clear space, and the premises may have little spare storage.
If you are arriving from the airport or heading to the train station afterwards, ask whether the studio accepts luggage and whether there are size restrictions. Leaving larger bags at your accommodation or an appropriate luggage-storage facility will usually make the visit simpler.
Monti’s uneven paving and sloping streets can also make rolling suitcases awkward. The Italy on Foot article on Rome’s cobbled streets with luggage explains which approaches are more manageable.
How to Fit the Workshop Into a Day in Rome
Although the class itself may last about two and a half hours, allow more time for getting there and leaving afterwards. A half-day slot is more realistic than fitting the workshop between two tightly timed attractions.
A morning session can work well before an afternoon exploring Monti or the archaeological area around the Colosseum. An afternoon workshop may be easier to combine with a relaxed dinner nearby.
Avoid scheduling it immediately before a reserved museum entrance, train departure or airport transfer. The finishing process may take longer than expected, or you may need a few extra minutes to pack the jewellery safely.
If you are arranging several activities around Rome, you can organize your Italy itinerary so that the workshop, sightseeing stops and travel connections fit into the same day without unnecessary journeys across the city.
For wider transport planning, the Italy on Foot article on getting around Rome covers the practical differences between walking, metro services and buses.
Weather, Cancellation and Rescheduling
Micromosaic jewellery workshops generally take place indoors, so ordinary rain or hot weather should not affect the activity itself. However, transport disruptions, severe weather or unexpected studio closures can still interfere with the session.
Cancellation terms are set by the booking provider or the applicable booking agreement. They are not uniform across Rome.
For example, Studio Cassio’s own published workshop information allows changes or cancellations up to three days in advance. Third-party sellers can have different deadlines and refund conditions, even when they advertise a similar experience.
Read the policy attached to your actual reservation, especially if you book through a marketplace. Confirm whether the deadline is measured in calendar days or hours before the scheduled start.
Also check what happens if:
- The studio cancels because the minimum group size has not been reached.
- You become ill or cannot attend.
- A delayed train or flight prevents you from arriving on time.
- You need to change the number of participants.
- The instructor or language advertised is unavailable.
If the studio cancels, ask about a new date or refund according to the booking terms. If you booked through a platform, contact the platform through the reservation as well as informing the studio.
Keep written evidence of any cancellation or agreed change. If you are running late, contact the studio as soon as possible using the telephone number provided in your confirmation. A small-group class may begin on time for the other participants, and late arrivals are not automatically entitled to extra instruction or a refund.
What to Ask Before Paying
If the listing is incomplete, a short enquiry can clear up most uncertainties. You do not need a long message, but including the right details will help the studio give you a useful answer.
Tell the provider your preferred date, number of adults and children, children’s ages where relevant, language preference and any accessibility requirements. Then ask:
- Will each participant make a complete piece of jewellery to take home?
- Can we choose between a pendant, ring or other setting?
- What metal is used, and are chains or other fittings included?
- What is the maximum group size?
- Is the glass prepared in advance, or will we cut and arrange it ourselves?
- Will the finished piece be ready to wear immediately, or does it need time to set?
- What is the total price, including materials and any additional charges?
- What are the cancellation deadline and refund conditions?
The question about taking the jewellery home deserves special attention. Some craft techniques require adhesive, setting materials or finishing processes that need additional time. Ask whether the piece can be packed safely for immediate travel and whether there are any restrictions on wearing it straight away.
If your group includes someone who may find fine motor work difficult, explain this before booking rather than expecting the instructor to adapt the class without notice.
Taking Your Finished Jewellery Home
One practical advantage of a jewellery workshop is that the finished item is small enough to carry while travelling. Even so, a micromosaic contains delicate glass elements that should be protected.
Ask for a box or suitable protective packaging. If the piece has recently been assembled, follow the instructor’s advice about setting time, cleaning and avoiding water or impact.
For air travel, a small finished pendant or ring is generally straightforward to pack in hand luggage. However, do not take studio tools, sharp cutters or leftover glass-making equipment without checking the applicable airport security rules.
If the piece requires later collection, establish the collection date before you leave the studio. Travellers departing Rome the following morning should confirm whether same-day completion is guaranteed or whether shipping is available and what it costs.
When a Jewellery Workshop Is Worth Choosing
A small-group class is a sensible option when you want to understand the craft through practical work and leave with something you have made yourself. It is particularly suitable for travellers who enjoy detailed creative activities and can comfortably spend a couple of hours concentrating at a worktable.
If you mainly want to learn about micromosaic history and see an experienced craftsperson demonstrate the technique, a studio visit may be enough. If your main interest is buying a finished piece of Roman jewellery, visiting an artisan shop may be more appropriate than paying for a lesson.
Before confirming any workshop, make sure the activity description clearly states what you will make, how much practical work you will do, what materials you will receive and when the finished jewellery will be ready. Those details are a much more reliable basis for choosing a class than a photograph of an elaborate micromosaic that would take an experienced craftsperson days to complete.